DIY WEDNESDAY – HANDMADE FLOWERS
| I’m so excited about our first DIY for 2011….stopping by the cafe today is my friend Lynn of Sunshowers and Rainshine………Lynn is an AMAZING stylist and her DIY’s are truly some of the best and so much fun to create….I’m so happy to have her as a DIY contributor ….today, Lynn is sharing her version of ‘Handmade Flowers‘ with us….take it away Lynn…..Enjoy!!
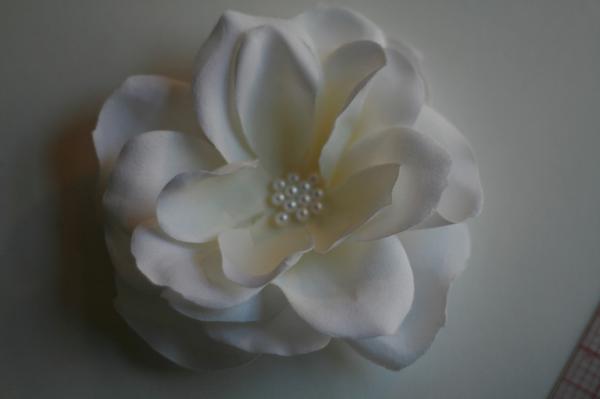
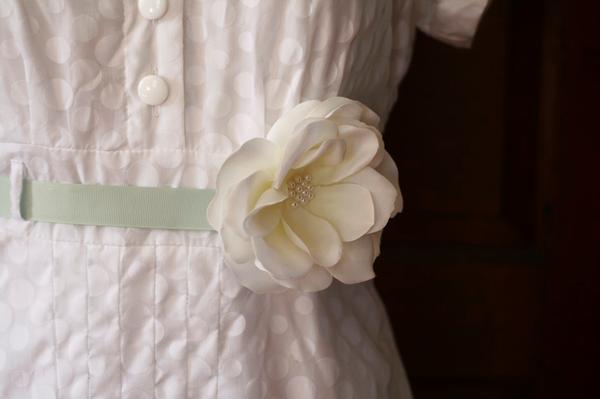
‘Handmade flowers are very popular right now and they aren’t cheap! If you buy one handmade they are definitely worth the price you are paying, but if you need a quick and easy custom flower this is a DIY that’ll save you some time and money. This is a versatile and very easy hairpiece to make yourself, it can also be attached to a belt as shown!’ |
![]()
 |
![]()
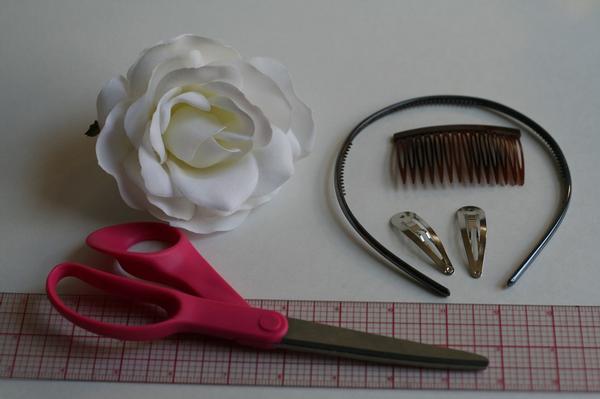
| Supplies:
One silk flower (Michael’s has a great and affordable selection) Beading Needle plus thread Pearls or beads for your flower’s center A ruler Scissors Hair clips, head band or hair comb to attach it to, whichever you prefer(or if you want to make this project extra easy you can use a glue gun for each step) |
![]()
 |
![]()
|
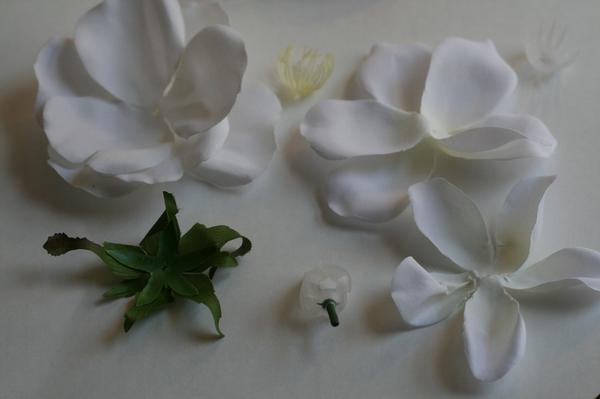
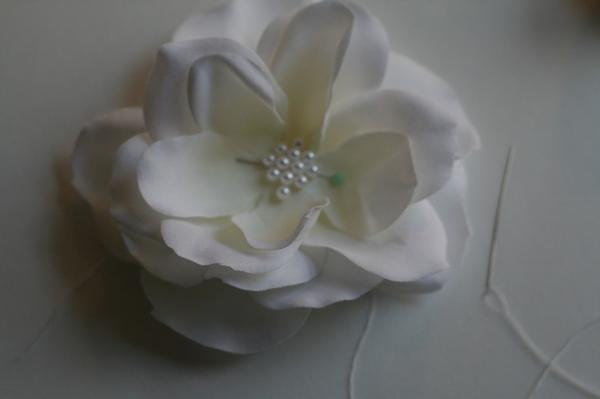
Step 1: Take apart the silk flower and remove any plastic shaping components. You can leave them if you like the flower just as it is, although it won’t look ‘handmade.’ I chose this ivory rose. Measure it to make sure its the size you want. You can always use your scissors to trim the petals to your desired dimensions! |
![]()
 |
![]()
|
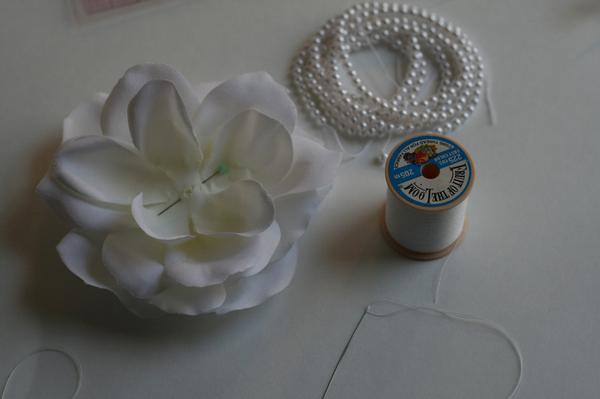
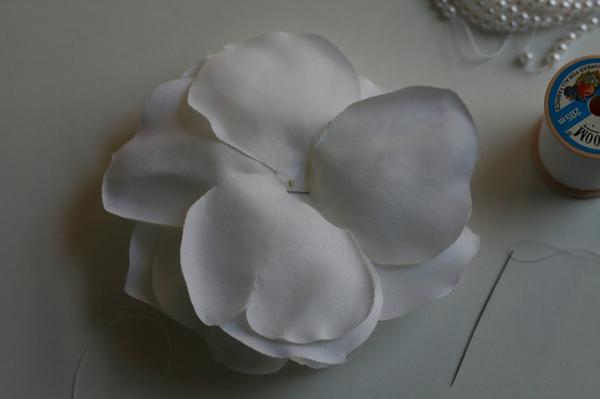
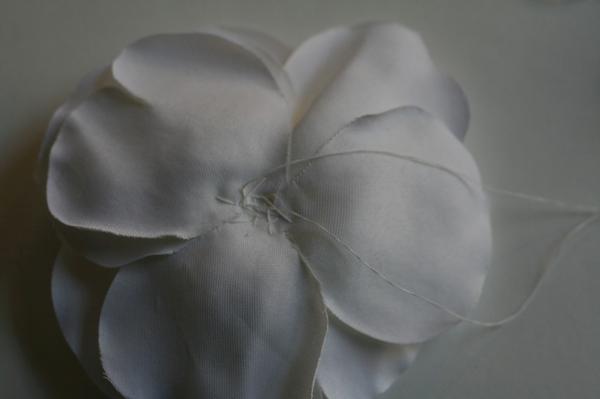
Step 2: Line up all the petals and pin them together. I put one strand of thread through the needle so that there are two tails of thread. Start the needle underneath of the petals and push the needle through to the front at about the center of the flower. String one bead on and then push the needle back through the petals to the backside. Tie the threads together in the back to secure the bead on the front and then continue to sew more beads onto the flower. I only intended to put three beads on the center but I like to feel it out and see what looks best as I go. I ended up with more…do what you like for your own flower! You could even attach a brooch or fancy earring in the center if you don’t want to hand sew beads. (images 4,5,6) |
![]()
 |
![]()
 |
![]()
 |
![]()
|
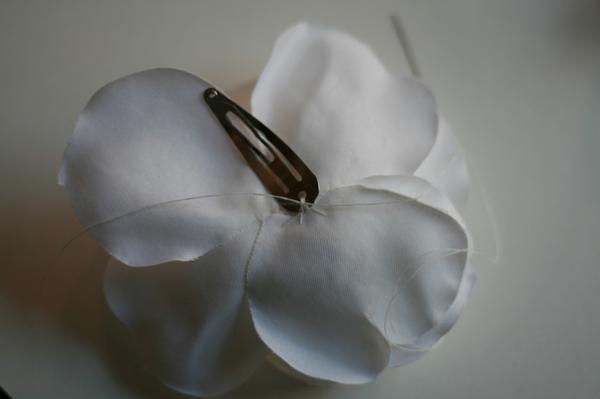
Step 3: When you are finished beading your flower tie off the ends in the back and then tie it to a hair clip. The thing I like about the hair clips I used is that they are secure in your hair but work great for attaching to a belt or a plain clutch or handbag. (images7,8,9) |
![]()
 |
![]()
 |
![]()
 |
![]()
 |
![]()
| Now how sweet is this….Lynn, thanks so much for stopping by and sharing such a cute DIY with us today….guys, head over to Sunshowers and Rainshine and check out more of Lynn’s designs…..she’ll be back soon with another cute DIY for us….xoxo
Check back later at the cafe….we have our first 2011 giveaway…you don’t want to miss it!! |
![]()