{DIY} FLOWER HAIR GARLAND AND BOUTONNIERE
|
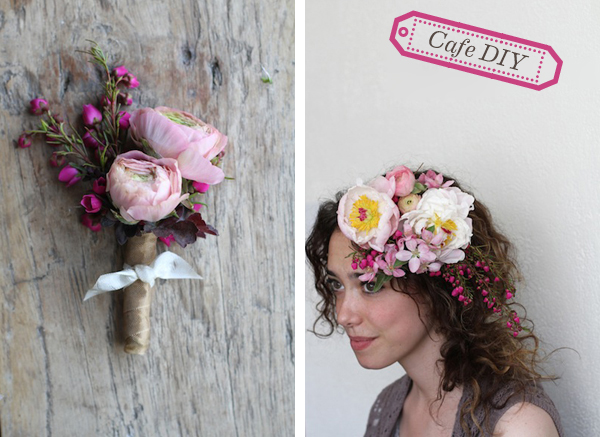
Hello Lovelies……I’m beyond excited for our features today…..we are back with our DIY segments and yes, I’m doing my ‘happy dance’……and kicking off our DIY series is one of my favorite floral designers and she is just the sweetest person, Sarah Winward of Honey of a Thousand Flowers…..we all love Sarah’s gorgeous flowers and today she is sharing the prettiest floral garlands for the hair and Sarah didn’t forget the gents, she made a bout to match….first up is the making of the flowers for the hair….and Sarah made it user friendly so you ALL can do this….Enjoy!! |
![]()
 |
![]()
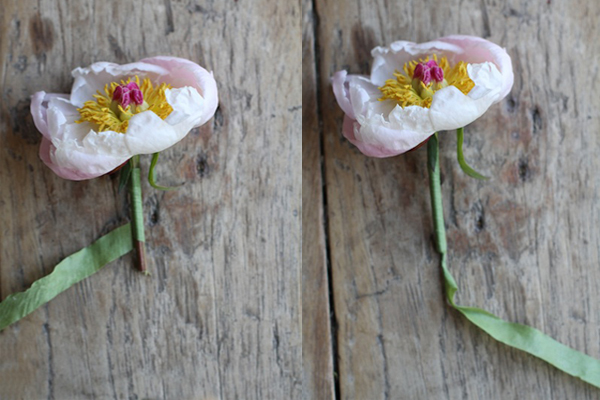
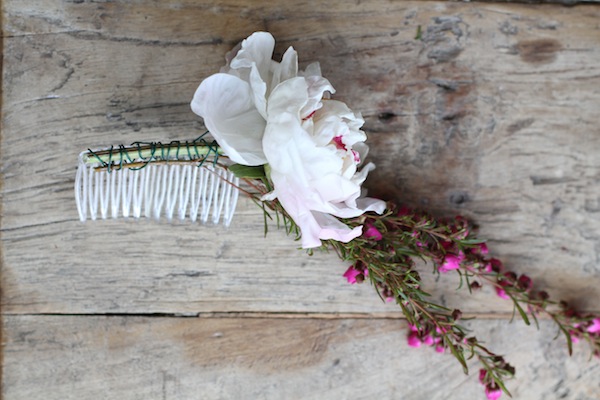
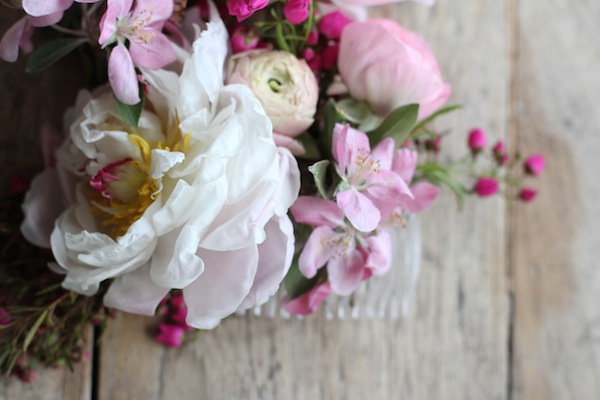
| 1. You may want to wrap some of the more delicate stems in floral tape before you wire them to the comb. This will help keep the moisture in so that they last longer. |
![]()
 |
![]()
 |
![]()
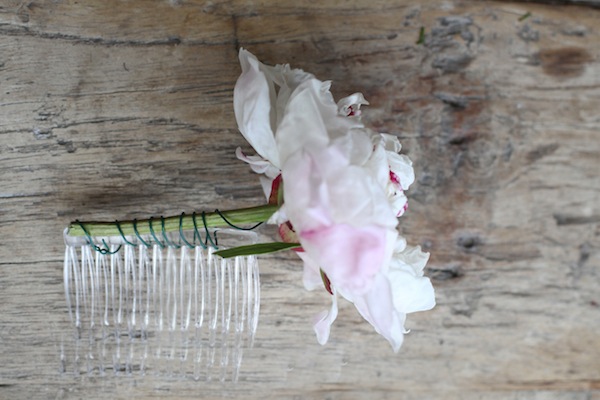
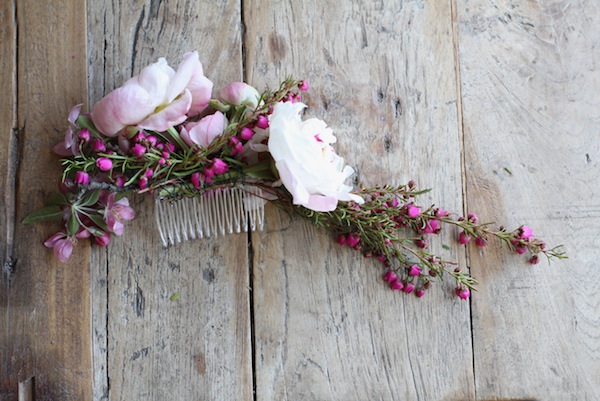
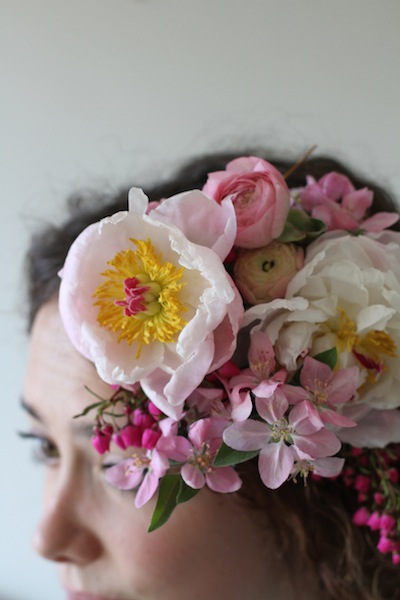
| 2. Wire the flowers to your comb. It is easy to start with one along the top of the comb like pictured here, then start feeding more flowers in different directions. |
![]()
 |
![]()
 |
![]()
| 3. Remember that the comb will have a front and it will likely have one side that is more visible too (perhaps this is the side that is towards your face). Keep this in mind while you are wiring the flowers to the comb so that you make everything face the direction you will want it when it is in your hair. I find that making them in front of a mirror is very helpful. |
![]()
 |
![]()
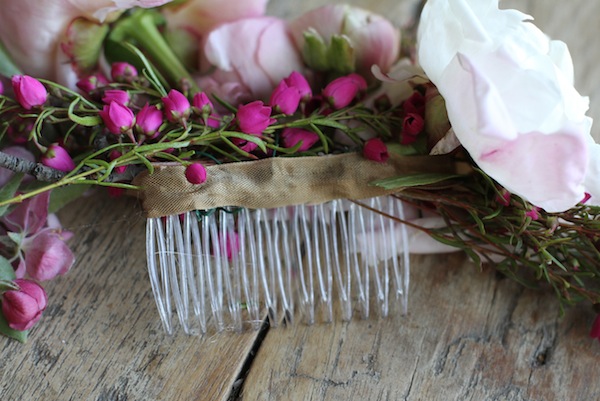
| 4. After you are finished adding flowers in, I lightly glue some ribbon along the back where all of the wire is so that it does not snag on your hair. |
![]()
 |
![]()
 |
![]()
 |
![]()
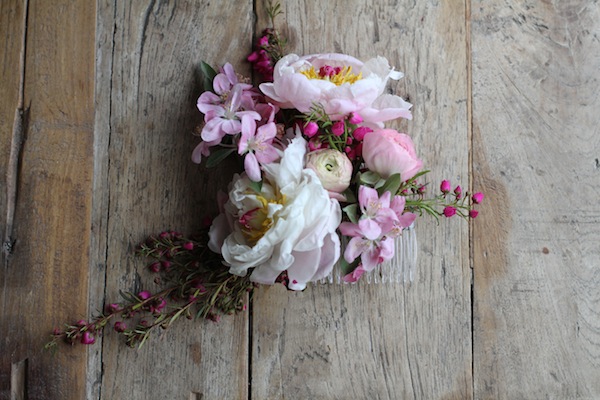
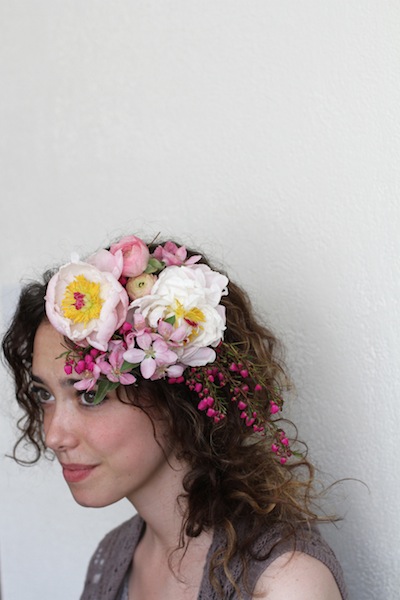
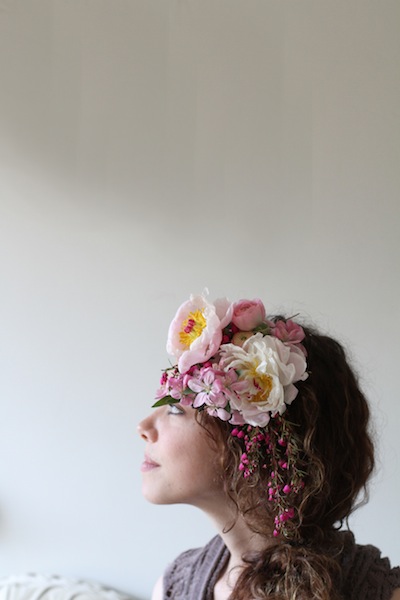
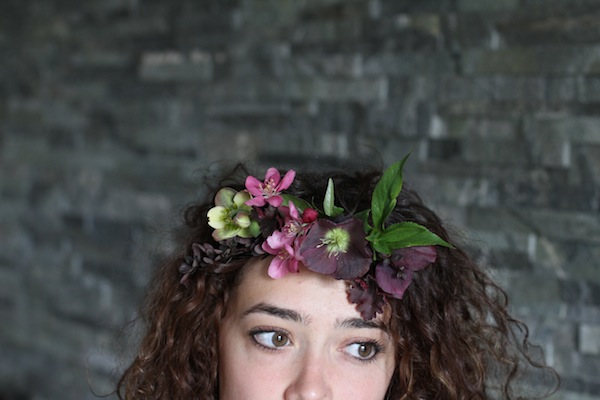
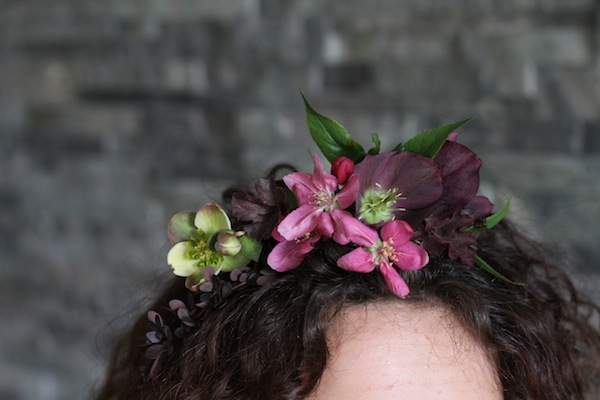
| Heavy floral hair pieces like this will stay best if they are lodged into some hair that is pulled back. They need an anchor. |
![]()
 |
![]()
 |
![]()
 |
![]()
 |
![]()
 |
![]()
|
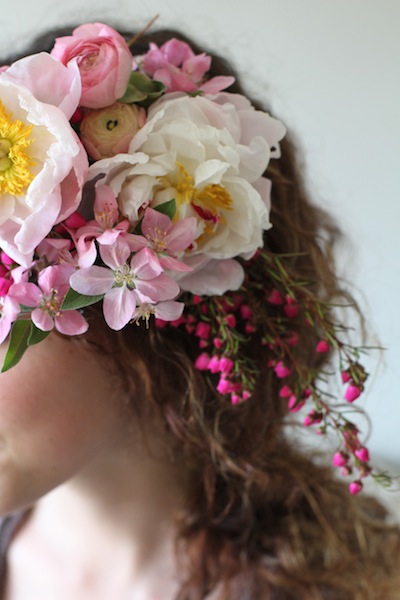
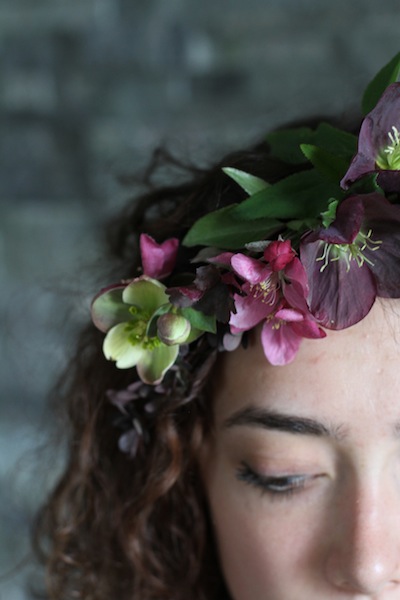
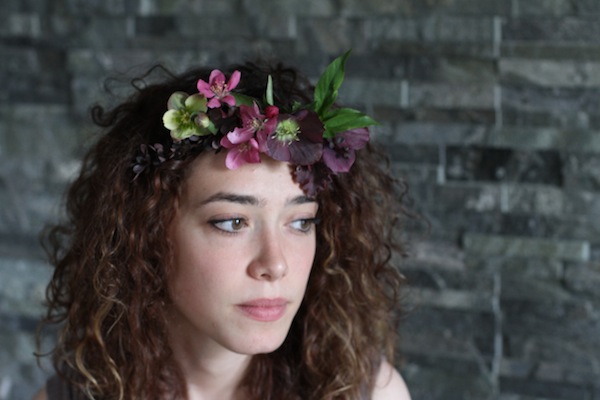
This floral hair garland was made by just wiring the flowers to each other, like making a tiny garland. There is no comb base on this piece. This is a lot lighter, so it can be worn in hair that is not pulled back. |
![]()
 |
![]()
 |
![]()
 |
![]()
 |
![]()
 |
![]()
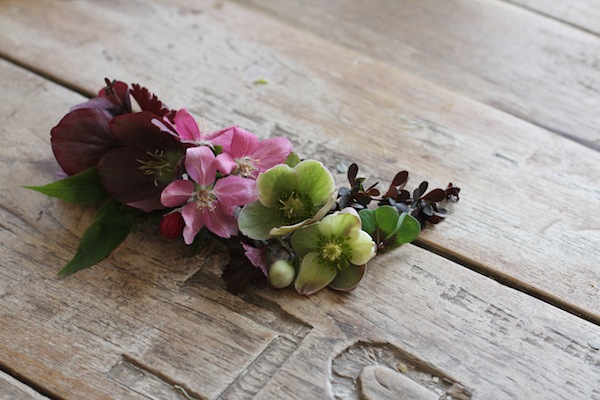
| Remember to use flowers that are in season and that last well out of water so that your flowers don’t start to droop after your ceremony and you still have the whole night to go. Maybe make two, one for the ceremony and one for dinner.
Sarah, thank you so much for sharing such a fun and beautiful flower DIY with us today…we are super excited to see what you have in store for us on your next visit….guys, check back later for Part II…..Sarah’s DIY boutonniere….you don’t want to miss it and while you waiting, make sure you check out Sarah’s awesome interview with the cafe…she’s truly AMAZING!! |
![]()