‘RUSTIC ECO-CHIC AFFAIR’ – PART II
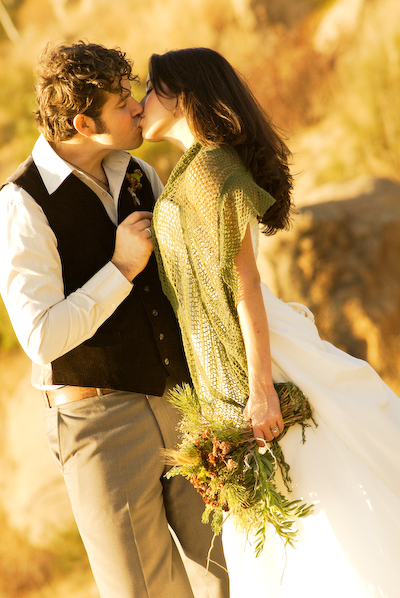
| Welcome back to Part II of our beautiful feature, Rustic Eco-Chic Affair….if you are just joining us, please make sure you check out Part I…it’s simply beautiful….below are the GORGEOUS details from the shoot….the AMAZING team of ladies behind all of the beauty of this faux wedding are …Lauryl Lane, Esther Summerville Ramsey of Summerville & Co Photography, and Victoria Hoke Lane of Calligraphos Ink.
Lauryl shares all info on the beautiful details with us…..they all did such an AWESOME job and I know you will enjoy it as much as I do…..let’s check out all the magic captured by Esther….Enjoy! |
![]()
 |
![]()
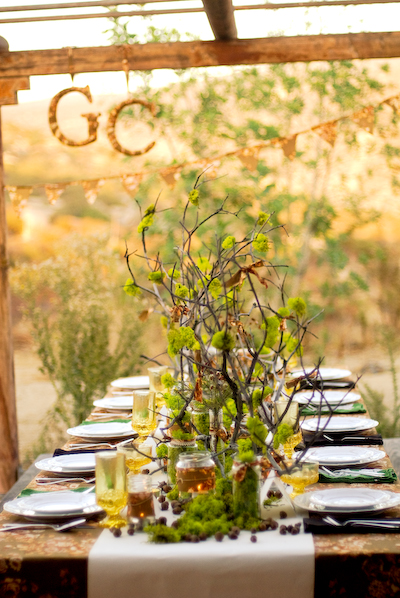
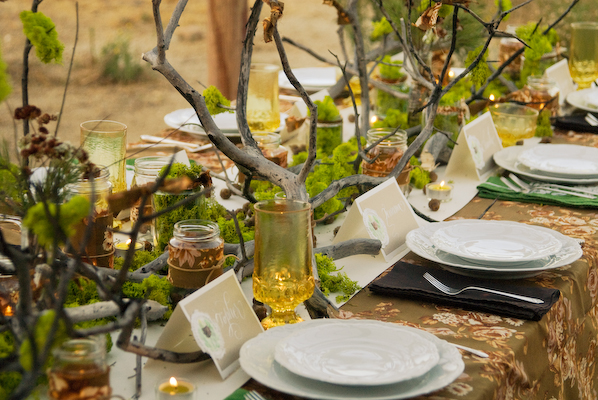
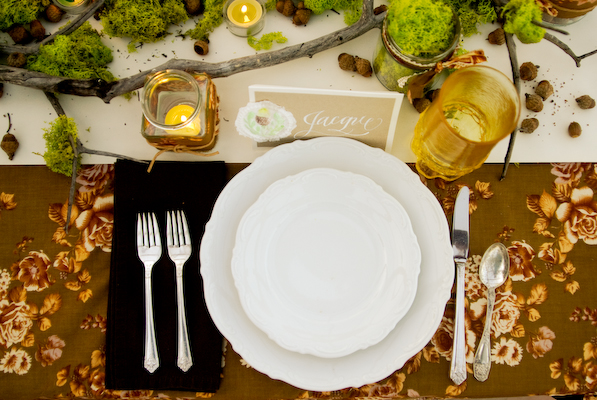
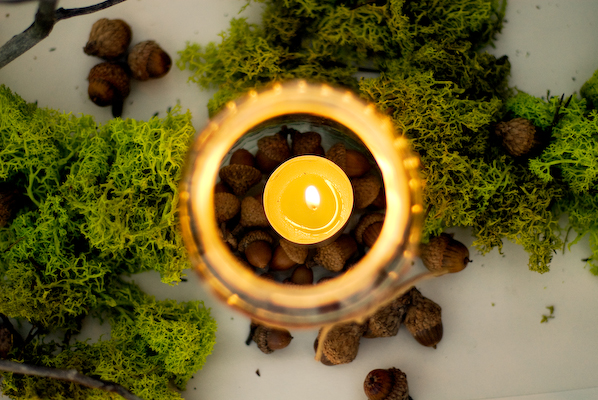
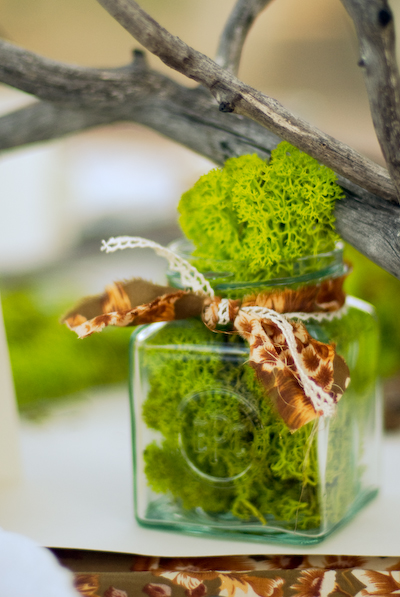
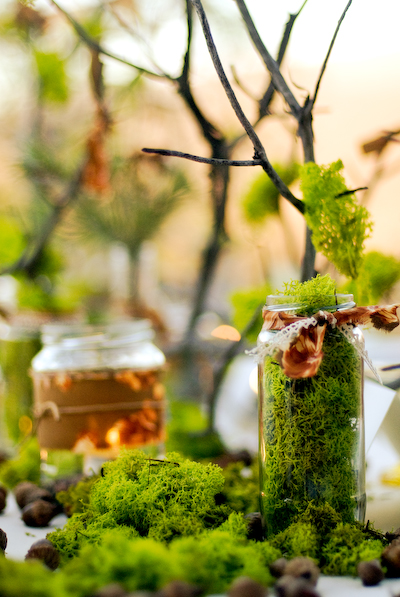
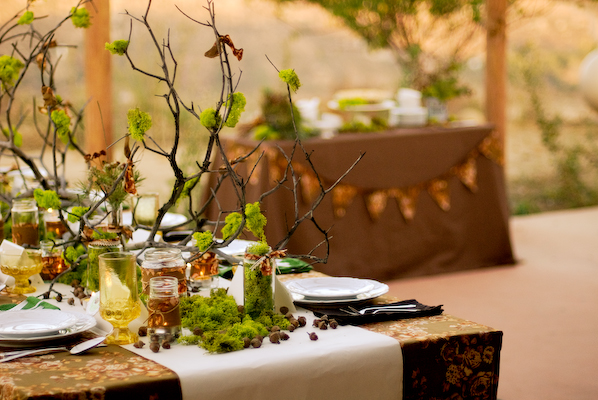
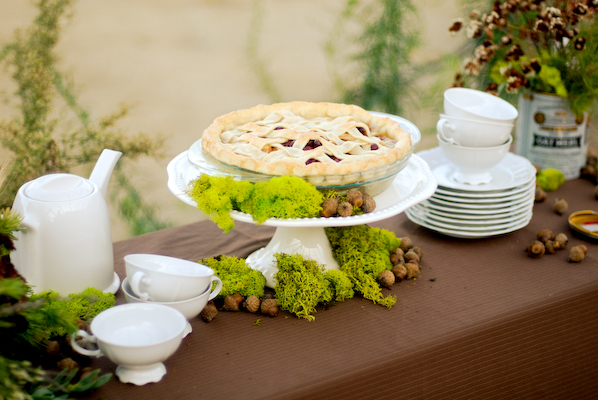
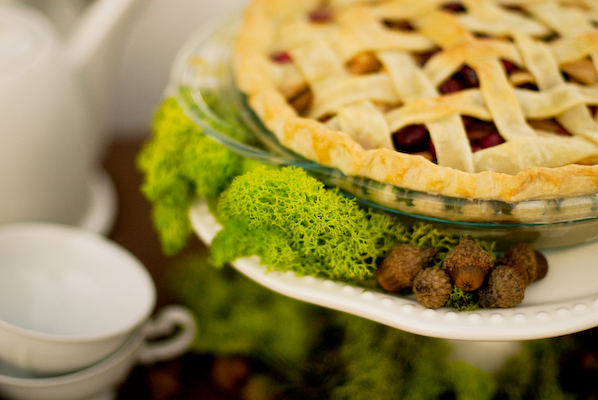
| Laurly shares all the details…..’I began the design process with the brown and green color palate, and the concept of using green reindeer moss as the ‘floral’ element and real acorns as the motif. The vintage-looking fabric was the perfect print to use throughout the decor. I covered the table with fabric, and then put down a recycled paper runner.
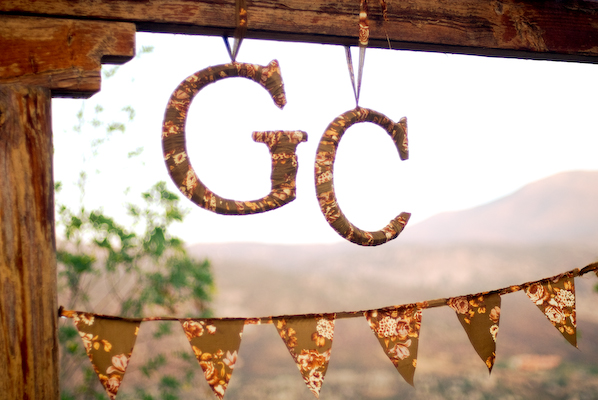
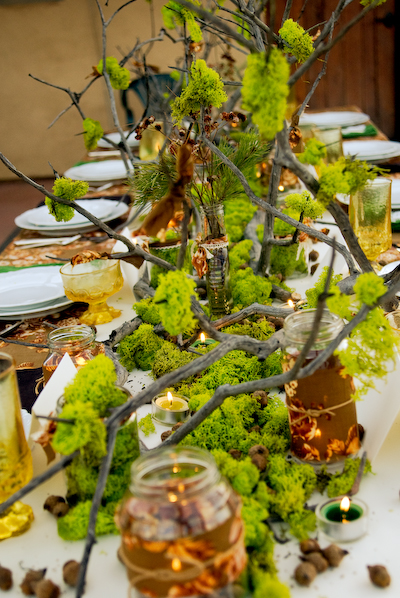
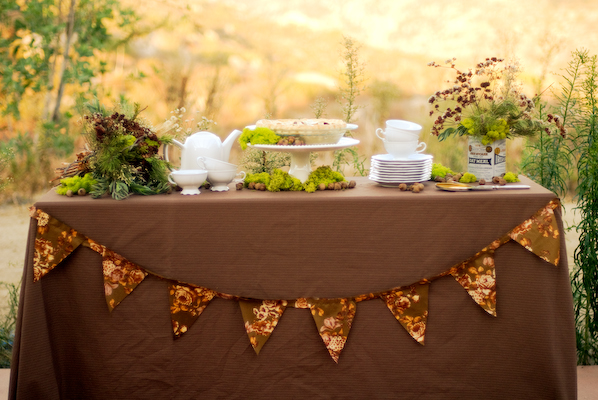
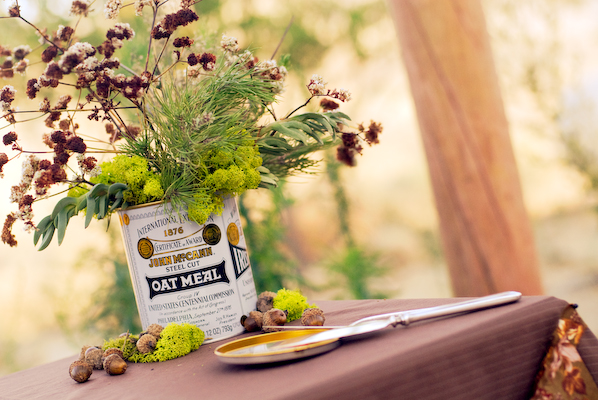
The manzanita was sourced locally- as in, Esther and I went out on her property with some hand-saws, and cut the manzanita down! It is seen in it’s natural state, with parts of it burnt from the fires that frequently blow through the mountains near San Diego. Aside from the moss and the acorns, every flower and piece of greenery, including what went into the bridal bouquet, was picked by me on the property. Thus, the green materials for this shoot were 100% organic.One of my goals for this shoot was to create some fun DIY projects, and to use recycled or repurposed materials as much as possible. The glass containers on the table are all recycled. I spent months saving every clear glass container that went through my kitchen, and then hours peeling labels! I tied strips of fabric and twine or crotched trim around each of the containers, and filled them with candles and acorns (purchased on http://www.etsy.com/) or green reindeer moss. The suspended initials were one of the simplest DIY projects I’ve ever attempted. I purchased the actual wooden letters from Hobby Lobby (most craft stores have something similar). Using strips of fabric, I started at the top of the letter and worked my way down, wrapping the fabric tightly, around and around. When I came to the end of a strip of fabric, I just tied a new one on, on the backside of the letter (trimming ends and then wrapping over them so they wouldn’t show). At the end I used a straight pin to secure the end onto the back, and then I looped another strip of fabric over the top of the letter for hanging. The fabric pennants were also a tremendously simple DIY project: I drew a triangular pattern on paper, and then transferred it to the fabric with a marker. I cut out as many triangles as needed, and then using a simple straight stitch on my sewing machine, I sewed the triangles to a torn strip of fabric. Voila, custom pennant!’ |
![]()
 |
![]()
 |
![]()
 |
![]()
 |
![]()
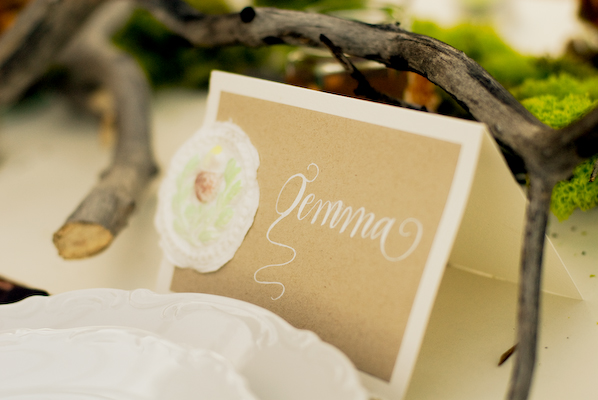
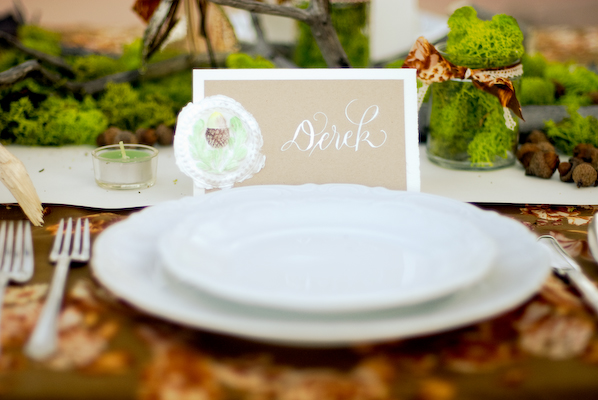
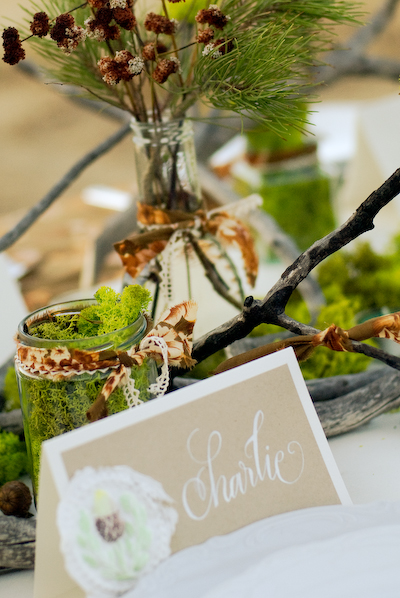
| All of the beautiful invitations and placecards and calligraphy were designed by Victoria Hoke Lane of Calligraphos Ink! |
![]()
 |
![]()
 |
![]()
 |
![]()
 |
![]()
 |
![]()
 |
![]()
 |
![]()
 |
![]()
 |
![]()
 |
![]()
 |
![]()
 |
![]()
 |
![]()
 |
![]()
 |
![]()
|
Lauryl, Esther, and Victoria….thank you all SO much for stopping by the cafe today……ladies, your work is absolutely STUNNING and it was truly a pleasure to have you visit….guys, please make sure you visit their sites to see more of their beautiful work….xoxoxo Photography – Esther Summervile Ramsey |
![]()